Renewed:
Renewed products, also known as refurbished or reconditioned items, are previously owned products that have been inspected, repaired (if necessary), and restored to a like-new condition. These items are typically sold at a lower price point compared to their brand-new counterparts, offering consumers a budget-friendly option without compromising quality. Renewed products undergo rigorous testing to ensure they meet the manufacturer’s standards and often come with a warranty to provide peace of mind to buyers. This practice not only reduces electronic waste but also allows more people to access technology and other goods at affordable prices.
Introduction
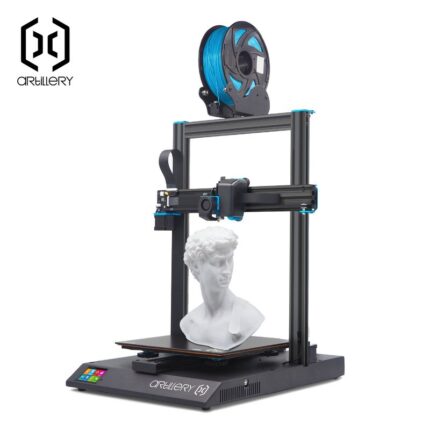
I’ve reviewed both the Sidewinder X1 and the Genius 3D printers from Artillery in the past and they have provided me their latest addition to the Artillery family, the Hornet.
The Hornet sets itself a part from the competition with a few features, one of which I have never seen implemented before. Let’s dive in and check out the Artillery Hornet 3D Printer.
Specifications
Build Volume: 220x220x250mm
Filament Size: 1.75mm
Nozzle Diameter: 0.4mm
Material Compatibility: PLA, PETG, and TPU
Power: 24v
Bowden w/titan style extruder
32 Bit Control Board
Inverted Z axis with anti backlash nut
X-Axis Belt Tensioner
USB or SD Card
Marlin 2.0 Firmware
Unboxing & Assembly
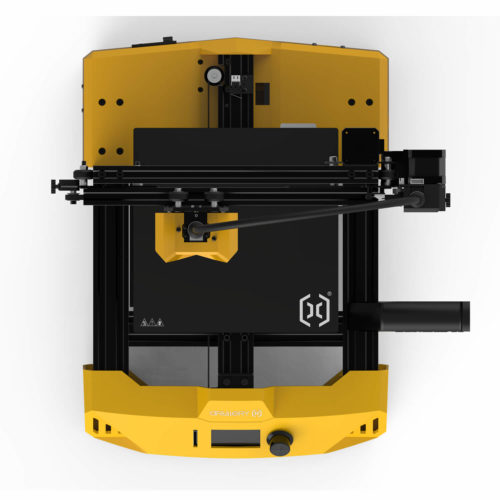
The Hornet arrived well packaged with plenty of foam protection and nothing was damaged during transit. After unpacking all the components, it was extremely easy to assemble. The upper gantry bolts into the base as you normally expect on these aluminum extrusions based i3 3D printers. 4 screws later and it was almost ready to print.


Next up in assembly was threading the unique wiring harness that is integrated with the Bowden tube. It’s a standard PTFE tube that is wrapped with the wiring and uses the threaded connectors that you may be familiar with the CR-10 lineup of printers. I really like how sleek this concept is. One last step was plugging in the power cable and we were read to start levelling the bed.
First Impressions
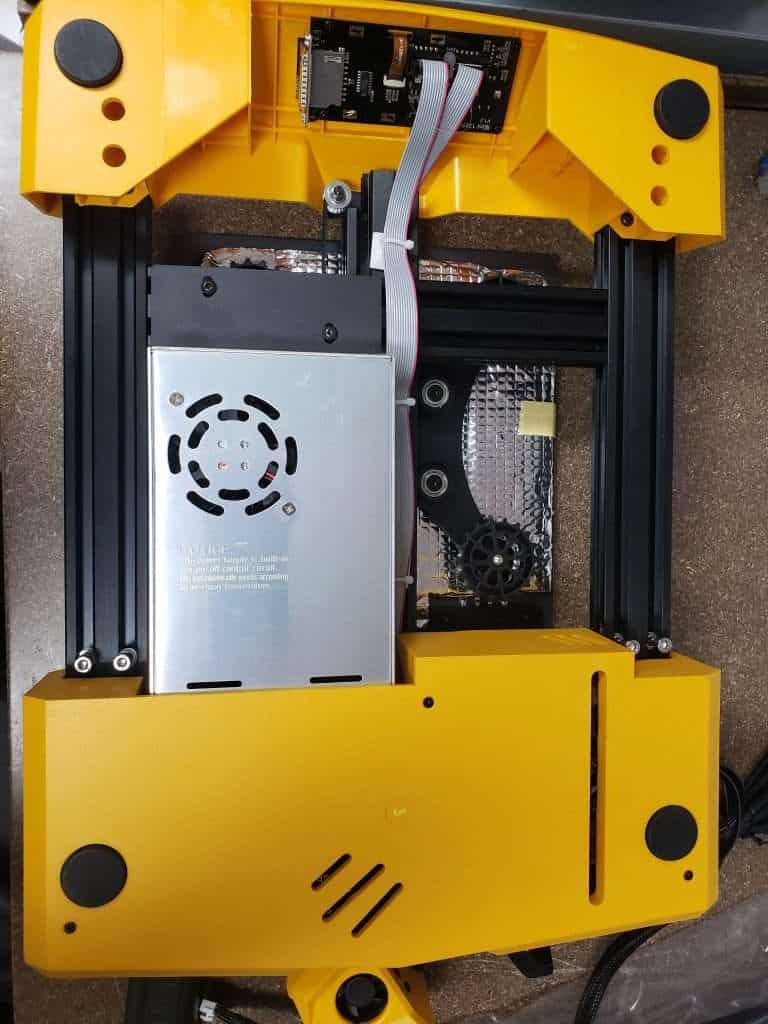
The printer is unique in both looks and features. The bright injection molded body that keeps the aluminum extrusions in place reminds me of a race car. Unlike most 3D printers in this class, Artillery decided to invert the Z axis, having the stepper motor at the top instead of at the base. They include their Z axis leadscrew coupler which floats in the leadscrew mount area that is intended to reduce z axis layer issues.
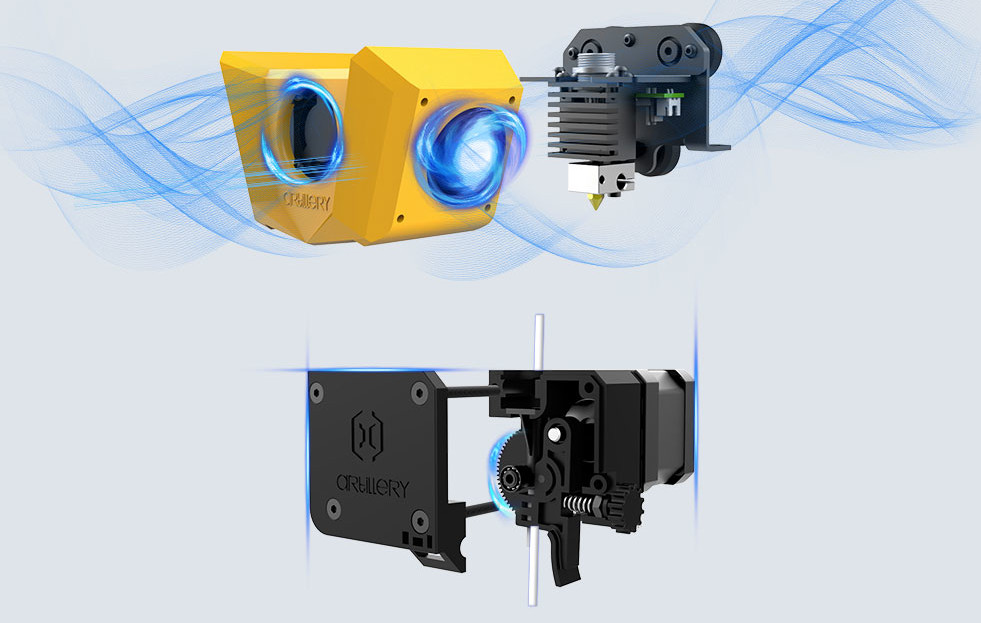
Artillery has included a titan style extruder that has the receptacle wiring from the new style Bowden tube wiring harness. The X axis includes a nice belt tensioner and Artillery’s coated tempered glass bed is expected to hold your prints firmly on the plate.
Printing
Before I could start my first print, I hit my one and only QC issue throughout the review period. The two front bed nuts would spin with the levelling nut screw, preventing you from having the ability of raising or lowering the bed. Unfortunately, Artillery uses an adhesive to secure their glass and you can’t access the screw heads from the top. The only way around this was manually pressing down on the glass bed to unload the spring tension and the nut would spin while the screw stayed in place. This repeatedly caused many headaches while printing as I could never level the bed while printing which I like to do during the first layer. The bed was not flat and required adjustments often. I e-mailed support at Artillery, and they told me to do what I was already doing but did not offer any replacement hardware. They were responsive but there was no fix which is unfortunate.
For my first print, I printed the Artillery cube on the SD card. I was not disappointed, it printed well with Filaments.ca Low Sheen Maker Series PLA (One of my favourite filaments!).
For the remaining test prints I used Prusa’s Ender-3 V2 profile now included in Prusaslicer. With the printer being Bowden and same build volume, I expected the slicer profile to perform well. I wasn’t let down. The Hornet delivered print after print.
I was using the Artillery Hornet 3D Printer as one of my production printers, relying on it to help me print items for my Etsy shop. I didn’t have any failures and it kept up with my requirements. Being able to rely on a machine is something I find extremely important and the Hornet hit that mark well.
Community
The Facebook community specific to the Hornet can be found here. Only 112 members at the time of this review but I see many Artillery staff as moderators so it should be a helpful resource. The machine is relatively new so I suspect more and more users will be joining that group as is with many other printer groups.
Conclusion
For the most part I’ve been very impressed with the Artillery Hornet. Having owned two Sidewinder X1’s, a Genius, and now the Hornet, I can say that the Artillery Hornet 3D Printer has performed very well, better than the others in my experience. I wish Artillery would consider a removable build plate as that presented a couple complications for me, with the spinning levelling nut screws. I really like the cleanliness of the wiring harness with integrated Bowden tube, but I have not seen what a replacement would cost and they are not available on the Artillery website as of yet. I really like the ease of assembly for this printer and the features that were included. It competes well against the primary competition at the price point of $279 USD in their shop here. I’d be happy to recommend this printer to others.















Reviews
There are no reviews yet.