The Artillery Genius Pro, an update to the manufacturer’s successful Genius 3D printer, was released alongside the Sidewinder X2 in August 2021. We gave the original Genius a brief 10-hour test when we did our hands-on back in the cursed year of 2020 but given Artillery’s ever-growing relevance in the space, we’ve been excited to put the Genius Pro through its paces.
As the name would suggest, the Genius Pro is an upgraded Artillery Genius, with some of those upgrades making it a little smarter and a couple more improving safety. The original Genius was a great printer itself and Artillery has shown it’s keen to listen to users when upgrading its systems. It’s added a lot of hardware value to the Pro for just a ~$60 price bump compared to its predecessor.
The Genius Pro is loaded with a lot of our favorite features, the best of which already appeared on the first Genius. The fast-heating AC print bed is truly quick to get up to temperature and the low-noise experience we’ve had with other Artillery products held true with the Genius Pro. Other feature upgrades were certainly meaningful, but, despite this, we found the Genius Pro struggled to meet our expectations.
Because of the hardware parity between the Genius Pro and Artillery Sidewinder X2, we will, at times, mention our previous review of the latter printer. If you’re considering the Sidewinder X2 for a larger build volume, we suggest you also read our review of that machine, as our experiences with the systems differed greatly.
The Verdict
PROS
- Excellent feature set
- Consistent results at higher print speeds
- Fast heating AC tempered glass print bed
CONS
- Print surface quality well below expectations
- Subpar and poorly secured cooling duct
- Included manual missing crucial instructions
The Genius Pro ticks our largest boxes for hardware features – and does so while being pretty aesthetically pleasing for a 3D printer. Unfortunately, what we expected to be a smooth experience was stifled by subpar print quality that we couldn’t find a solution to through regular calibration and maintenance.
As seen on other Artillery printers, the AC print bed gets up to temperature fast — we usually saw our prints starting in under two minutes. Unfortunately, also like other Artillery printers, the tempered glass bed continues to suffer from poor thermal uniformity, which was problematic on more demanding and spread out prints.
When it comes to print quality, we found the Genius Pro wanting. Given the all-star hardware lineup, we expected clean prints with minimal calibration. The results were definitely passable, but we found them wanting. Persistently poor layer alignment had us tinkering with and recalibrating the Genius Pro for an inordinate amount of our time with the system; chasing results, we were confident the printer was capable of. Unfortunately, our experience doesn’t seem to be an isolated one, and we feel the unusually involved adjustments to accomplish truly quality results are out of line with what’s delivered from many budget 3D printers today with just routine calibration.
All told, if you find the hardware set appealing and are willing to spend some time tinkering with a potentially unwieldy machine, the Genius Pro is an exceptional deal at ~$340. Unfortunately, what would have been a seamless experience was tainted by disappointing results.

COMMISSIONS EARNEDCheck price at
The Tech
The Artillery Genius Pro is a Cartesian-XY-Head 3D printer that comes loaded with a great set of features surrounding its 220 x 220 x 250 mm build volume. It’s mostly a straight continuation of the preceding Artillery Genius with some added quality-of-life hardware like stock auto bed-leveling (ABL) and Artillery’s new 32-bit in-house “Ruby” mainboard. Also, importantly, dramatically improved cabling with pre-installed strain relief and metal Z-carriages.
If you take a peek at Artillery’s Sidewinder X2, you’ll notice there’s hardware parity between the printers – which differ only in size. Don’t take that to mean these printers perform the same, though. The varied sizes came with some serious tradeoffs that led to problems not existent in this smaller version.
GOOD-LOOKING BUILD
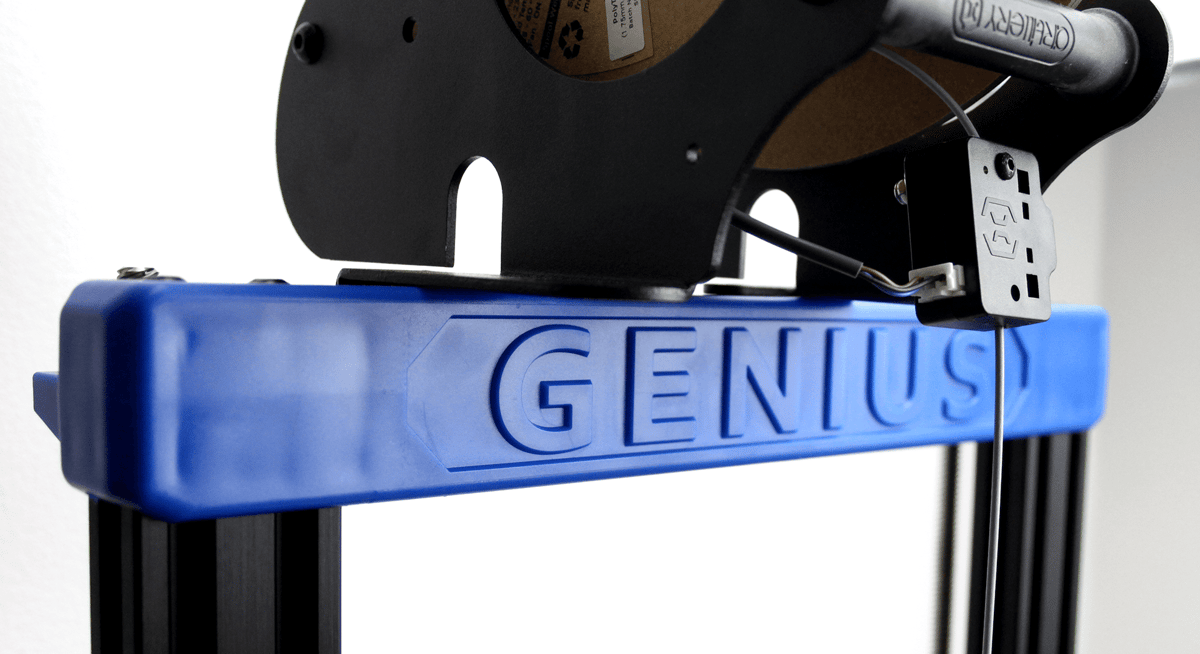
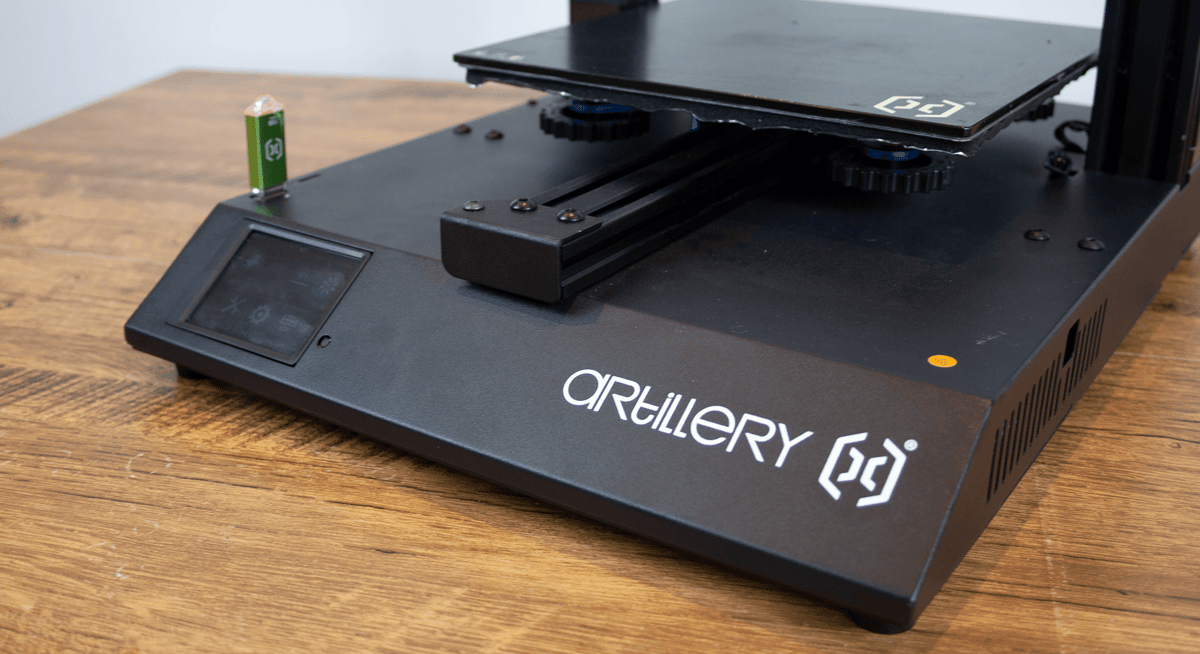
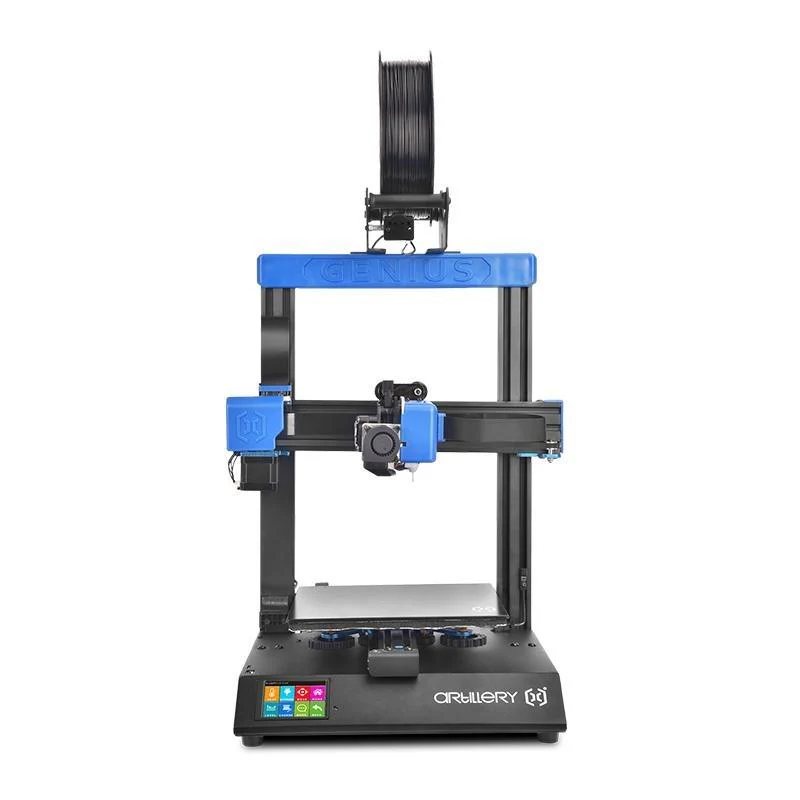
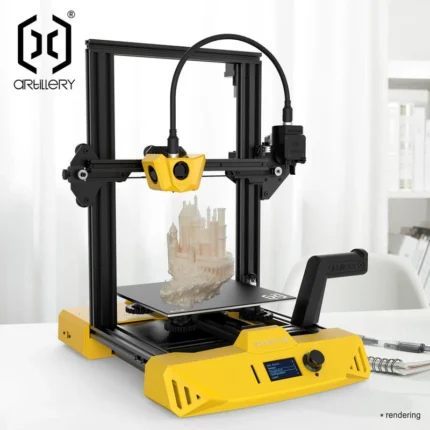
Artillery’s Genius Pro continues the original Genius’ clean, colorful look. Its black aluminum base is appealing and serves as great housing for its mainboard and power supply. We’re fans of the blue injection-molded casing that makes the printer look like consumer hardware that can fit into any room without being too jarring.
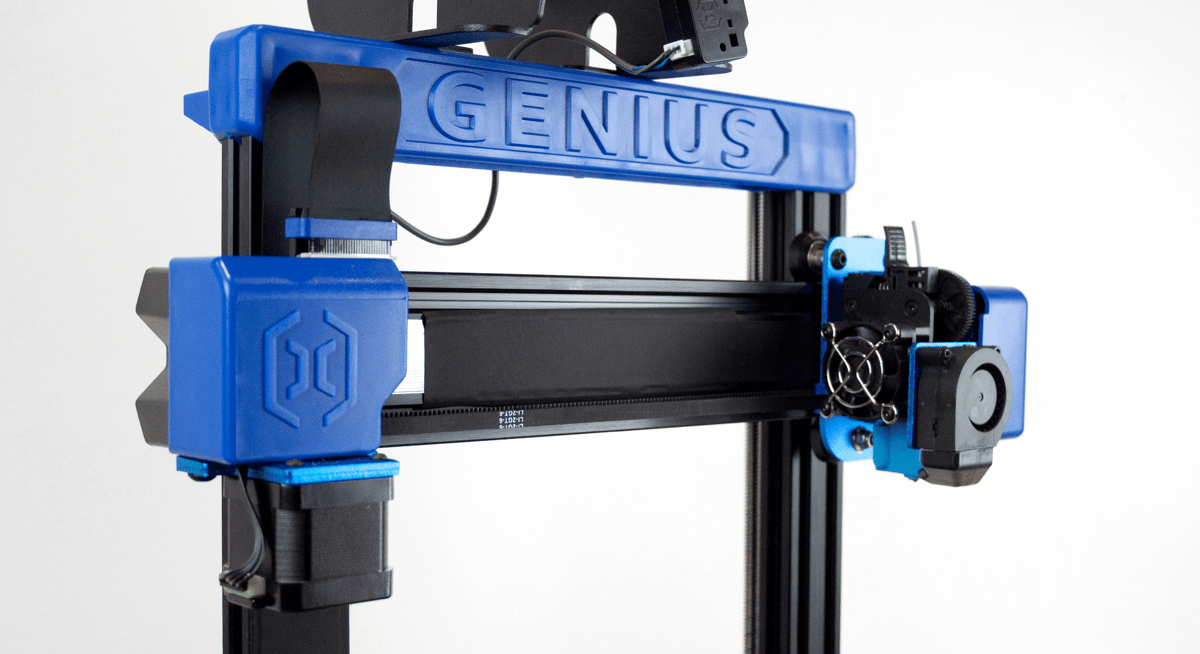
Clean cabling also serves the printer’s quality aesthetics and is one way the Genius Pro has improved on its previous iteration. The original Genius had the clean-looking wide cables along the left Y extrusion and the X-axis that have carried over to the Pro, but they were of concern. Though the issue wasn’t as notable as it was on the Genius’ bigger sibling, the Sidewinder X1, cable wear and strain were still concerns. The Genius Pro has addressed those concerns with injection-molded strain reliefs that come pre-installed and a thick but flexible cable for the fast-heating AC print bed with a guide sunk into the printer’s base to ensure it only moves as intended. Top marks for thoughtful and safe cable solutions.
One concern about the Genius Pro’s outward appearance came in the form of a sticker. Artillery’s latest printers seem to have a sticker reading “warranty void if seal is broken” attempting to deter users from getting into the electronics… on a 3D printer. What?
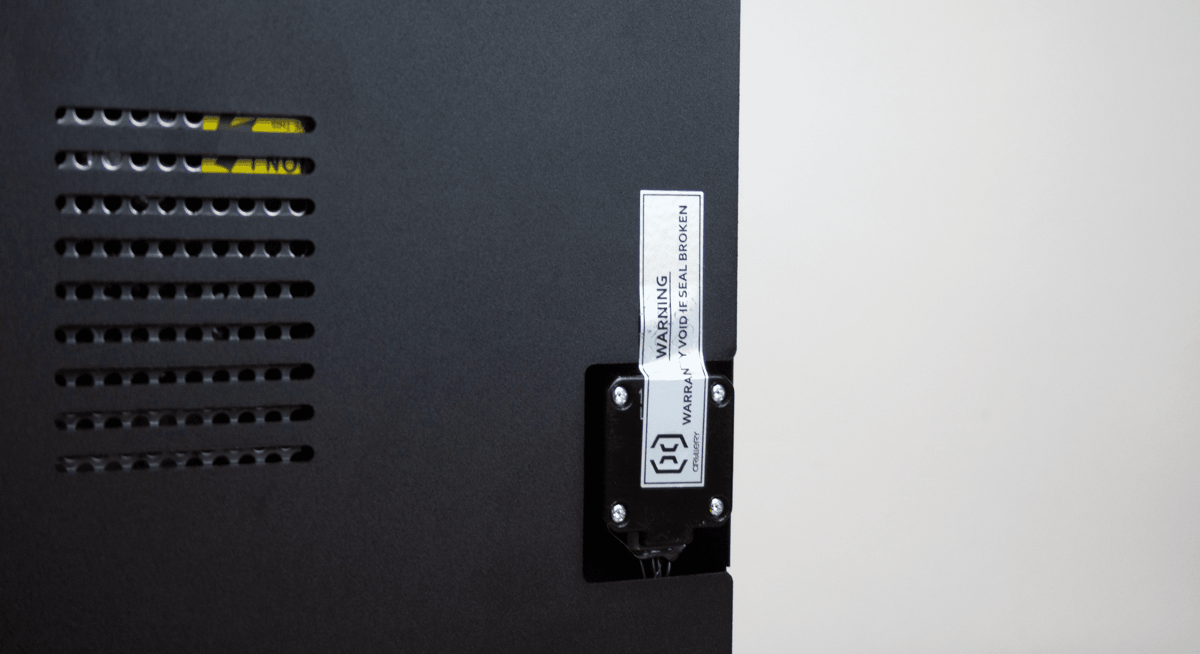
In many places, these warranty restrictions aren’t enforceable but still show up as a ploy to deter would-be tinkerers from taking a look inside. As far as we’re concerned, this is a huge faux pas for the 3D printer industry. At All3DP, we firmly support the right to repair and, beyond that, it’s important for 3D printer users to have access to the mainboard and power supply to verify solid connections and the absence of fire hazards. We couldn’t think of another 3D printer we’ve seen these stickers on, and it’s a huge disappointment to see from a manufacturer making waves in the industry.
UP-TO-DATE HARDWARE
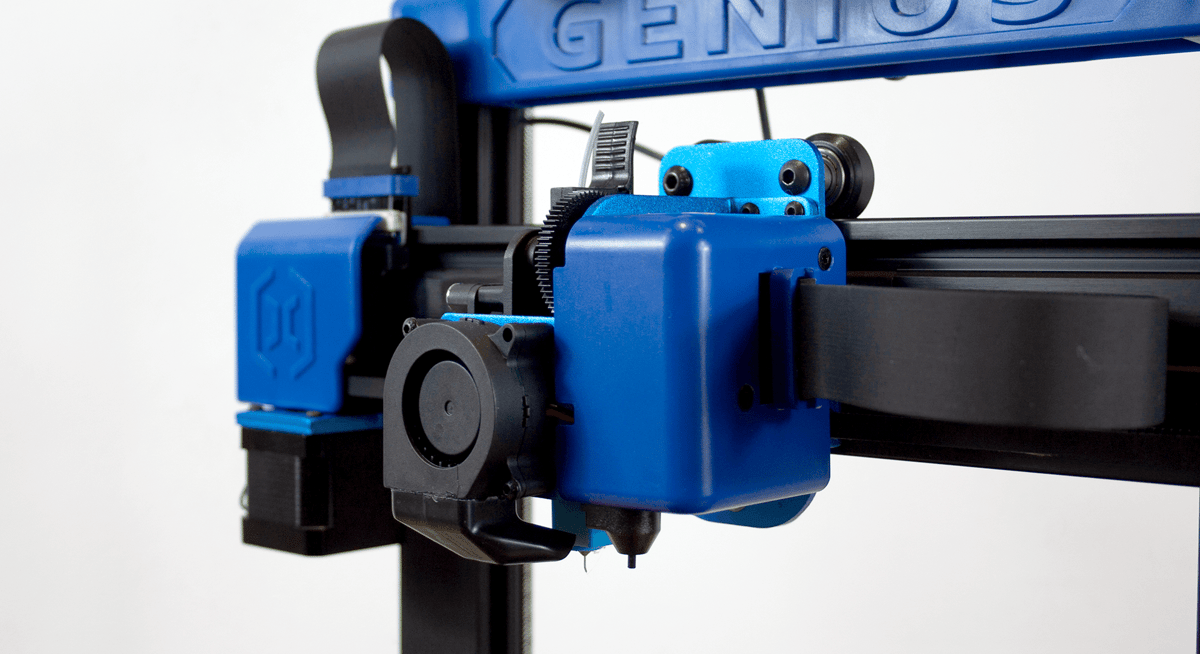
The Genius Pro has everything you could expect from hardware in today’s budget systems, and the fast-heating AC print bed is a welcome cherry on top. The printer uses a direct Titan-style extruder with a cloned Volcano nozzle that can keep up when printing at high speeds, and the included touch probe adds ever-helpful ABL from stock.
Artillery’s AC-powered fast-heating print bed with a tempered glass build surface makes a return on the Genius Pro. We’re fans of how quickly these beds get up to temperature, reaching 70 °C in about two minutes, but that’s the only highlight for these beds. They have consistently suffered from poor thermal uniformity across Artillery’s products, and the issue is compounded by the surface itself being adhered to its heat pad — making it difficult to both clean and replace. To remove these glass tops, you need to heat the bed and peel the padding off. Not ideal. What’s wrong with an aluminium heat plate and some good ol’ clips?
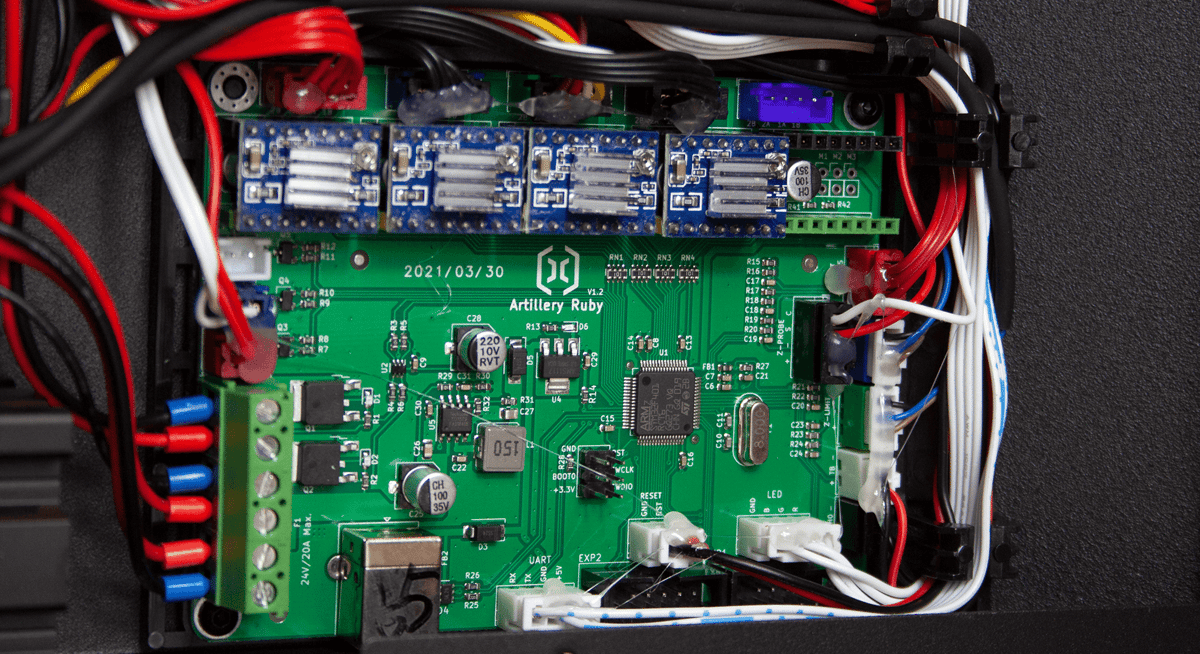
The Genius Pro’s mainboard has received a notable upgrade in the form of Artillery’s 32-bit “Ruby” mainboard. The last Genius was only 8-bit, but that’s simply too slow for the number of commands 3D printers are processing these days. Artillery opted to develop its own mainboard with an ARM processor for this, and it’s finding use in all its new products. It’s a fine board, and we’re happy to see 32-bit becoming a standard feature. Though, we do wish Artillery used this power to include a few more Marlin features like linear advance — which may have helped where the Genius Pro struggled most.
The Genius Pro is missing a few features that would have made our troubleshooting a little easier, key among them being belt tensioners. It’s honestly baffling that this is missing from an otherwise premium feature set. To adjust belt tension, users must loosen the two screws attaching the belt pully to the X or Y axis and push the pulley to tense the belt. As you might imagine, there’s little play and, in our case, it didn’t create enough tension in either belt. For the print head’s belt, we had to loosen the pulley again, remove the print head’s casing and electronics to access the cable tie that attached the belt to the print head, cut the tie and re-tighten the belt on the print head before finally tensing and resecuring the belt pulley. A simple knob should be available to adjust tension, and third parties have provided a solution for this since the original Genius.









Reviews
There are no reviews yet.